Plastic Flowers
How to Make Plastic Flowers
Bring spring into your home using recycled everyday home items, such as plastic bottles, bags and even take out containers! Looking to add some color inside or out? Using everyday recycled items create a piece of flair that can withstand the elements!
Before you begin, make sure you've gathered all the necessary supplies.

Supplies Needed:
-
Bottle Caps
-
Plastic Bags
-
Single-use Plastics
-
Paper Clips
-
Scissors
-
Wire Cutters
-
Sharpies or Permanent Markers
-
Wire Coat Hanger
-
Large Nail or Screw for Poking Holes
Step-by-Step Instructions
Make one flower or a whole bouquet! Learn how with our simple instructions.
Step 1:
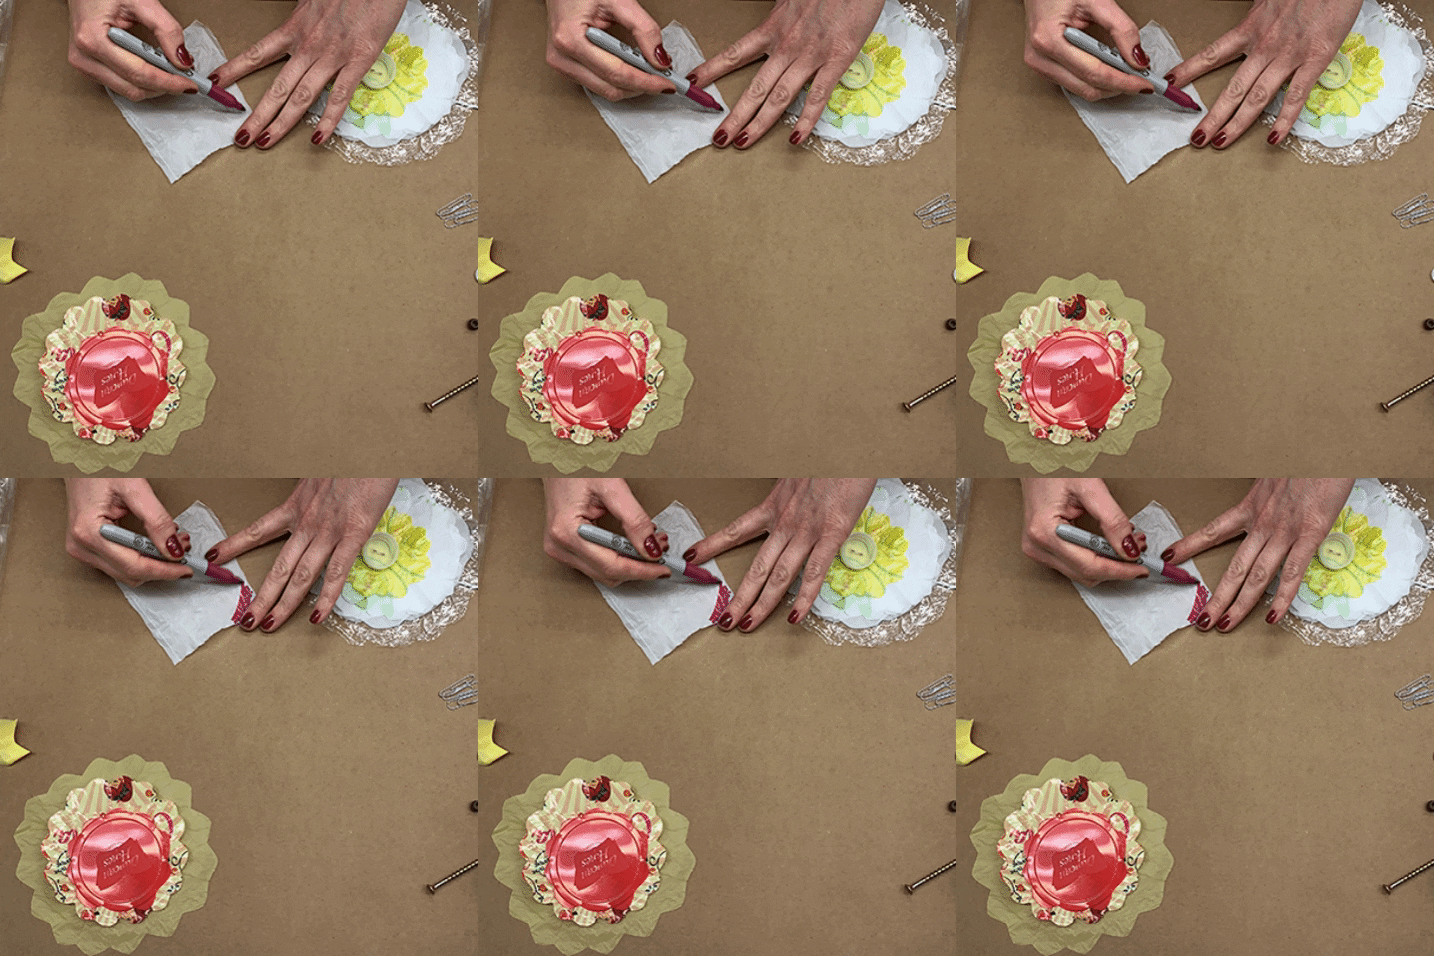
Find a variety of colored plastics or add color to white bags with permanent markers.


Step 2:
Cut your petals. Each flower will need 3-5 petals of different sizes varying from 2-6 inches. Cutting plastics into circles with scalloped edges (you can also use the guide provided from the paper flower craft for cutting squares of plastic bags into round edge petals).

Step 3:
Make your fastener by unfolding a paper clip so that it is a straight piece of wire. (You can also use a 2 inch piece of floral wire.) Use a nail or screw to poke two holes in a milk cap or small piece of flexible plastic. Fold the wire in half and insert both ends into each of the holes.

Step 4:
Take your flower petals and poke the ends of fastener through the center or each petal, starting with the smallest petal and ending with the largest petal. Flipping the flower over the reveal the back side, fold the ends of the fastener over one another so they lie flat and stay in place.

Step 5:
Make the stem by cutting a 6-10 inch piece of wire from a coat hanger. Wrap the ends of the fastener around the top of the stem wire.

